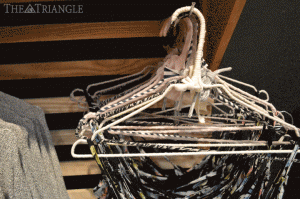
Living in the city for two years has taught me many things. One of the harder lessons I had to learn was that when it comes to my wardrobe, closet space is not the most abundant. My clothes live pretty sandwiched within the miniature built-in closet I have. And clothes hung closely together leads to one thing: clothes slipping off hangers and becoming a tangled mess. One solution is to purchase a whole new set of velvet hangers. Another is to read on and find out how to create easy, personalized hangers.
Materials: cloth or yarn, a hanger, scissors and glue
The cloth can be bought from a fabric store and cut into long inch-wide strips or you can upcycle old T-shirts by cutting long strips and tying them together securely. The great part about this do-it-yourself is that there is no need to measure a specific length. Keep tying the cloth strips together and cut after you have completed wrapping the hanger. Another option is to use yarn. You could even use different colors to match the decor of your room!
Directions:
To begin, tie the cloth strip to the hanger with a knot. Apply a thin layer of glue and begin wrapping the cloth around the hanger, applying more glue as you go. I recommend beginning at the bottom of the hanger and ending at the hook. You can overlap the cloth as you please for a thicker or thinner hanger. After you have wrapped the entire hanger, tie a knot or bow around the base of the hook. Allow the glue to dry for 24 hours before using. Take this time to finish an entire set of hangers. Now enjoy your new stylish and mess-free wardrobe!

